Training a dog to accept grooming and medical handling is usually a part of the socialization process. However, many puppies miss this stage and arrive at our homes when they are older than three months, so we still have to familiarize them with being groomed and handled. If a puppy is not accustomed to these procedures when they are small, they will be scared of them when they grow up. This may lead to something called neophobia, which is when a dog is scared of something it encounters for the first time.
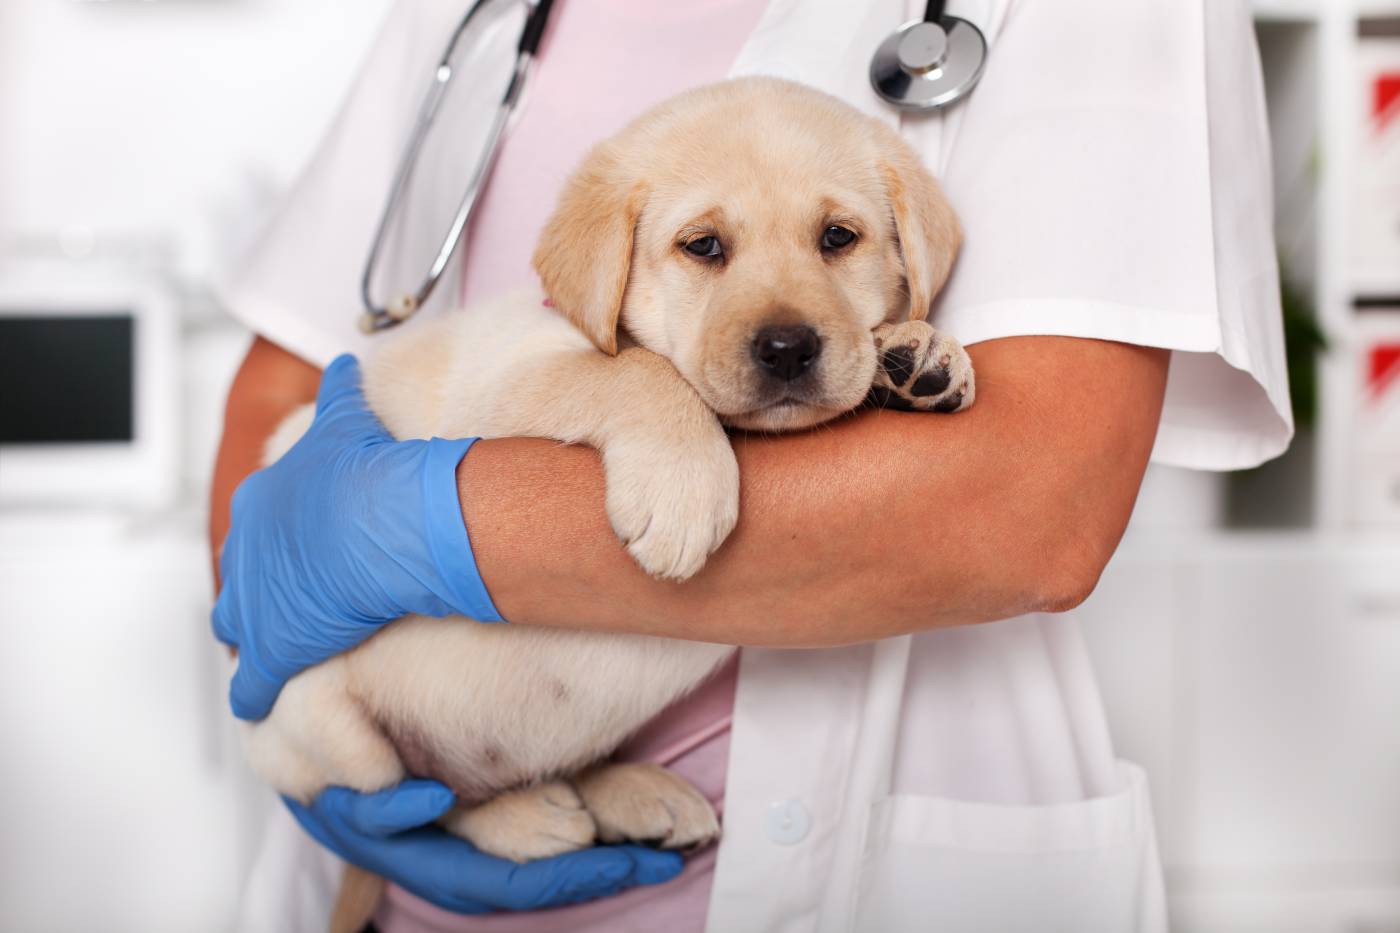
In one of her speeches, Dr. Karen L. Overall, PhD, ABS certified applied animal behaviorist, discussed the potential harm “frightening” veterinary procedures can cause to dogs and cats.
“Many of you know how terrified and desperate animals can become at the vet’s. It’s no secret that regular and / or severe stress has a huge impact on health. On top of that, stress leads to immunity depression which makes the animal susceptible to the development of various diseases, both physical (allergies, autoimmune and chronic diseases) and psychological (aggression, anxiety disorders). By twisting a dog to cut their claws or give them a pill, you not only ruin your relationship with them and put yourself at risk of being bitten, but also undermine their health and shorten years of their life. This is especially sad because training a puppy and even an adult dog to accept medical handling is pretty easy. It takes a few weeks or, in rare cases, a few months to teach your dog to stay calm during medical or grooming procedures.”
So, what other arguments do you need to start training a puppy to accept various procedures right away?
How to teach a dog to accept grooming?
There are two major rules of teaching a dog to accept hygiene and medical procedures calmly:
- The experience should be positive (fear and violence are unacceptable).
- The experience gained must be maintained throughout your dog’s life.
If you want a faster and more stable result, you should give control of the situation to your puppy. It is up to them to decide when the “training game” begins and when it ends.
Important: if your dog has previously had a negative experience with any procedures, if you teach them with “fake” procedures, don’t resort to the “real” ones. In other words, if you familiarize your dog with a bottle of eye drops in the morning, don’t put the eyedrops in by force in the evening.
As long as the dog shows the old behavior, that is, fear during procedures, it will not learn a new one, that is, staying calm.
Teaching a dog to stay calm during medical examination
Start with “fake” daily examinations. Ultimately, you will achieve the maximum effect from this training if you work your way up to involving other people in these “fake” examinations, including people who are not familiar to your puppy. This way, your dog will not be afraid to accept all of these manipulations from an unfamiliar veterinarian.
Teeth
Put one hand on the puppy’s chin from below and wrap the other around the top of their mouth. Immediately say “yes!” and reward them with a treat. Gradually keep your hands around your dog’s snout for longer until you bring the time to 5-10 seconds.
Never squeeze your dog’s snout; hold it gently. Say “yes’’ every time and reward your puppy with treats for being calm. If your puppy is uncomfortable or tries to escape, shorten the time.
In the next stage, move your dog’s upper lip up with the fingers of one hand and move the lower lip down with the fingers of the other hand. Do this simultaneously to expose the incisor and canine teeth. This way, you can take a look at your pet’s occlusion.
Mouth
Gently open your puppy’s mouth a couple of centimeters, poking your fingers into the space behind their fangs. If the puppy stays calm, say “yes,” give them a treat, and actively praise and pet them. If they try to escape, stop, quickly touch their lips and open their mouth less wide. Gradually work your way to the point where you can open your dog’s mouth wide, touch their lips, and gently press on their tongue with your finger. Reward your puppy generously each time.
If your dog is well-trained, you can surprise them with a treat on their tongue as you are practicing manipulating their mouth. That would be a great surprise!
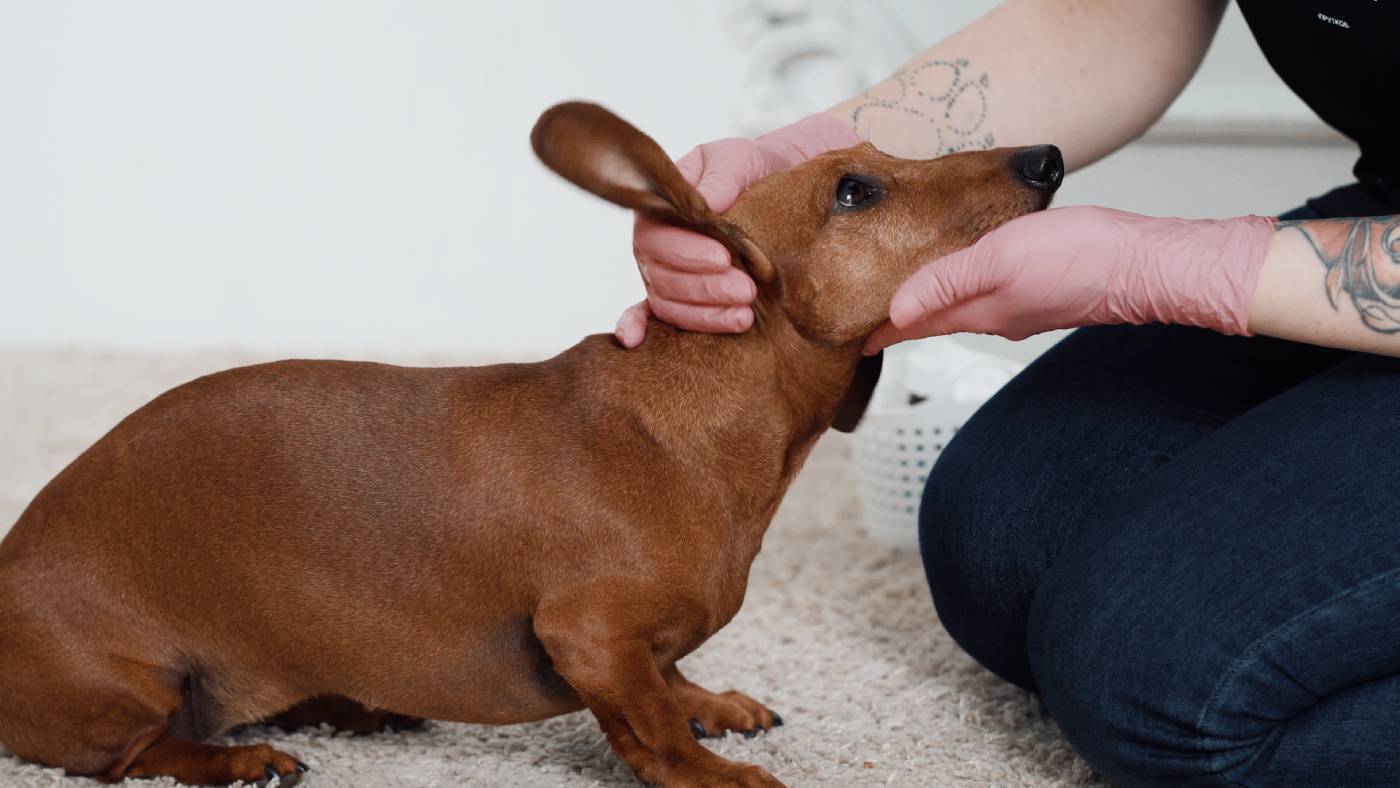
Eyes
With one hand, hold the puppy’s head from underneath. With the index and thumb of the other hand, hold the upper and lower eyelid of one of the eyes for 1-2 seconds. Say “yes’’ and give your puppy a treat. Repeat the same steps with the other eye. Gradually increase the examination time to 3-5 seconds.
In the next stage, take a cotton pad and run it over the lower eyelid from the outer corner of the eye to the inner one. If your puppy stays calm, generously reward them.
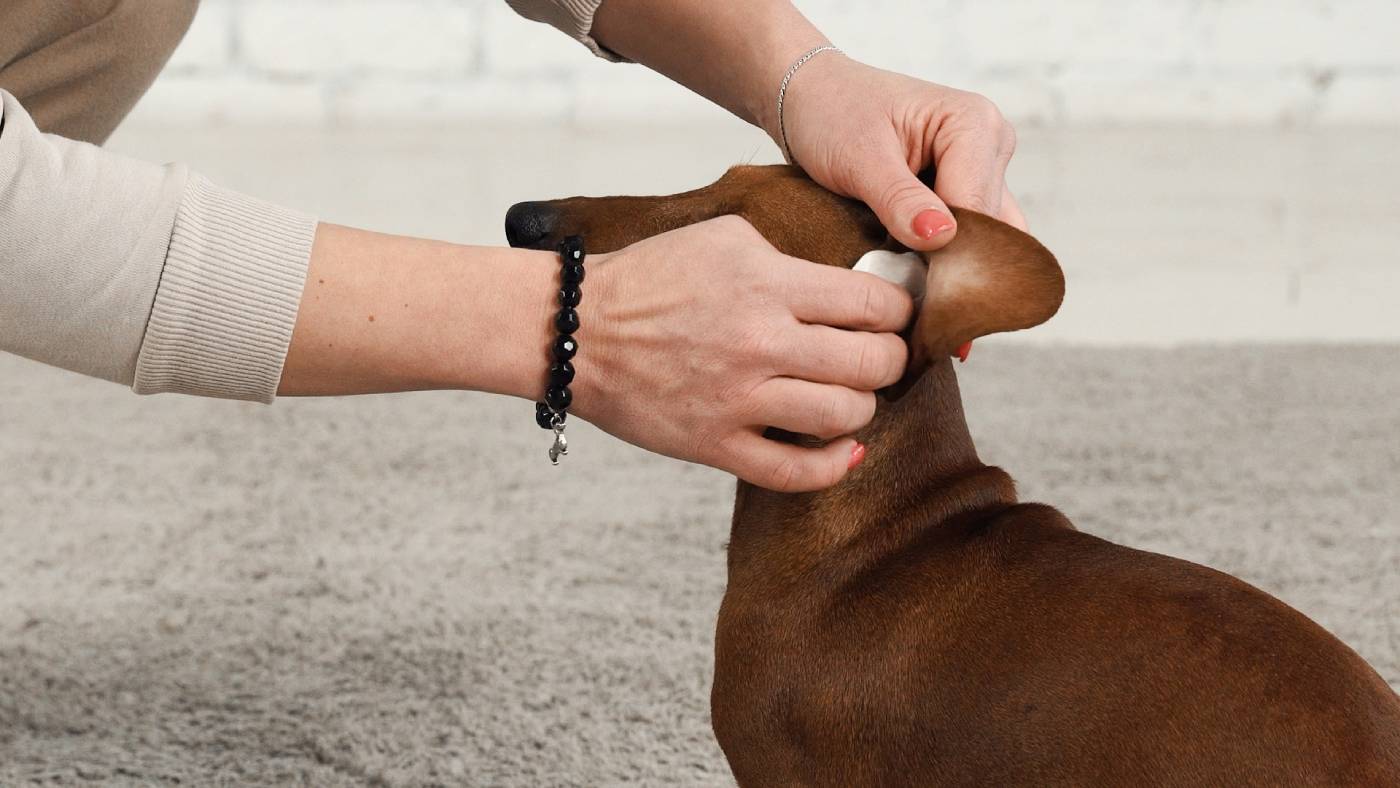
Ears
Lift or touch your puppy’s ear with one hand and gently and briefly touch the skin around the ear. Say “yes!” If the puppy doesn’t react to it, give them a treat and praise and pet them. Gradually work your way to the point where you can touch the entire area outside the ear and eventually press your finger on the inner part of the ear. Don’t poke your finger inside the ear canal; only touch the outer area around it. Reward your puppy with treats every time.

In the next stage, take a cotton pad and gently rub it over, around, and inside your dog’s ears (while staying out of the ear canal). Don’t forget to reward and praise your puppy.
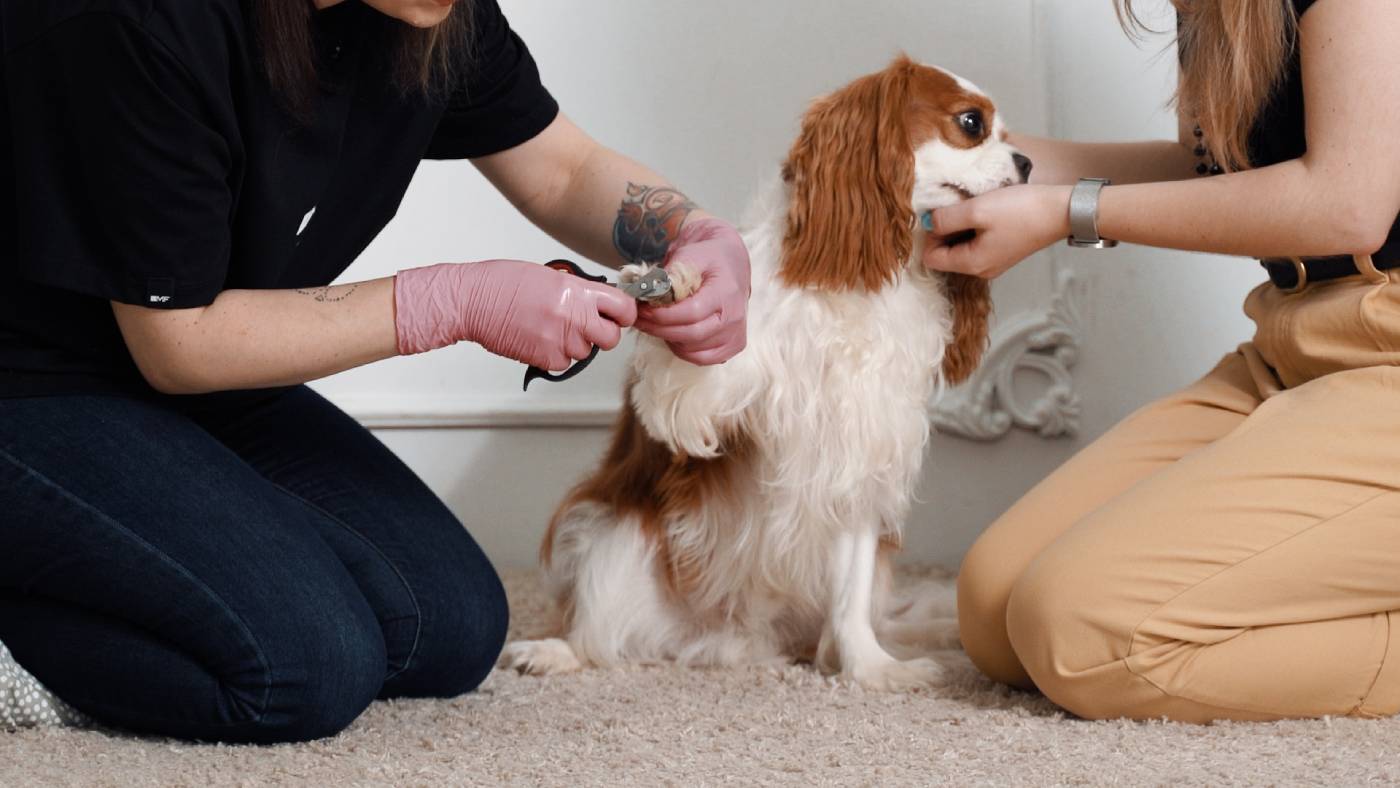
Paws
Take one paw in your hand and hold it gently for some time. Reward your puppy for letting you hold their paw for longer periods each time. Gradually, hold your pet’s paw harder. Your aim is to get to the point where you can touch each of your dog’s toes and lightly press on them where the claw comes out. Move slowly; this is the foundation for trimming your dog’s nails and examining for the presence of plant seeds which may cause pain.
It is important to say “yes” and give a treat when you hold or touch your dog’s paw and not when you release it. Reward the puppy for interacting with you, not for stopping the interaction.
Remember, don’t clean your dog’s ears, comb their tangles, or cut their nails when they are afraid.
Dogs are afraid of situations when you hold them by force, bend over them, or touch them with unfamiliar objects. Your pet doesn’t care about the pain you might accidentally cause when cutting their nails. When playing with one another, dogs grab each other even more painfully.
Getting your dog used to unpleasant procedures doesn’t mean getting them used to pain. This is training the dog to trust you and not be afraid of you.
Three best methods of training your dog to accept unpleasant procedures
There are three main ways of familiarizing your pet with unpleasant procedures, and we’ll talk about all of them in detail. You should be familiar with all three methods, especially if you adopted an adult dog. Maybe one of those methods was previously applied incorrectly and your dog’s trust has been already broken. If that is the case, you’ll have to choose another method or a combination of methods.
In most cases, a caring and patient dog parent can cope with medical and hygiene procedures on their own. Familiarizing your pet with grooming and medical handling yourself also helps to strengthen your bond. However, if you feel that you are afraid or unsure of yourself, you may need help from a dog behavior specialist who knows these techniques. Unfortunately, not all specialists know how to apply them correctly, so please choose a canine specialist wisely.
Now matter which method you choose, always start with the following: take some treats and put a muzzle on your pet. Reward your dog with treats and start a training session.
Desensitization
Step 1. Choose the size of the stimulus that does not frighten your dog.
Ear cleaning. Some dogs are uncomfortable when you approach them closer than about two meters. Others, when you touch their back. Other dogs feel comfortable when you touch their back, but they freeze when you touch their head. Other dogs don’t mind when you touch their head, but get stressed when you touch their ears. Other dogs only react when you look inside their ear and start examining it. Gradually move through all stages of manipulation and, as soon as you see that your dog gets uncomfortable, stop. This is the size of the stimulus that your dog accepts.
Hair brushing. Carefully and slowly, touch different parts of your dog’s body. Notice whether your pet gets tense or not when you touch their belly, neck, or some other area.
Nail trimming. Move through the same stages as you did with ear cleaning but this time, after gentle touching, try to gently hold your dog’s paw. Don’t squeeze the paw, just hold it in your hand. If your dog stays calm, lift their paw a bit. If your dog gets stressed at any stage, relax your hand and release the paw.
Step 2. Alternate between a stimulus that doesn’t scare your dog with a weaker one.
So, you’ve found out at what point your dog gets stressed. For now, this is your dog’s “trust maximum.” Your task is to stimulate your dog at a weaker level and from time to time move to the point where they get uncomfortable. This is the essence of desensitization.
Let’s say your pet is relaxed when you touch their head, but they get slightly tense when you touch their ears. In this case, you stroke your dog’s head nine out of ten times. Then gently touch your dog’s ears once, and again stroke your dog’s head nine times. Then touch their ears one time.
You don’t have to dedicate a whole training session to this activity. For example, you can do it as you familiarize your pet with a muzzle. When the muzzle is on your dog, stroke your dog’s head nine times, touch their ears once, and then stroke their head one time again). Then you can teach your dog some tricks or commands while also working on familiarizing them with your touch.
The numbers, mentioned above, are approximate. They are used to indicate the ratio: you frequently present a stimulus that doesn’t cause your dog’s reaction and rarely a stimulus that causes a small tension.
While you’re doing this, you should actively praise your dog verbally rather than giving treats. Try to distract your dog from the fact that you are teaching them to accept ear cleaning. Your dog will get used to it without even realizing it.
At some point, you’ll see that your dog doesn’t get stressed when you touch their ears. To make sure that your dog is comfortable, touch your dog’s ears 2-3 times repeatedly, about 20-30 times. If your dog is still calm and not tense, move on to the next stage.
In the next stage, take the ear with your fingers. Then gently release it. Stroke the ear nine times, and gently hold the ear again. Continue this pattern each time you pet your dog.
Step 3. Keep experimenting with stimuli.
After your dog reacts calmly, as if not noticing, when you hold their ear, it’s time to get them used to you moving and manipulating their ears.
When you reach the point in this stage that your dog “doesn’t notice” your manipulations, you should train your dog to become accustomed to you varying your movement and placement around them while petting them – for example, leaning towards them and then moving away.
Then, this can be combined with the desensitization towards ear manipulation: you can teach your dog that you can hold their ear and simultaneously lean in (or lean out).
You can number the stimuli according to strength: one, two, three, four, five, and so on. Let’s say that you see during training sessions that your dog is calm at stimulus level 3. That means that you can safely keep your dog without a muzzle at lower stimulus levels: for example, you can pet your dog while watching TV. However, when you get back to stimulus level three or four, continue to put a muzzle on your dog.
When you teach your dog to accept nail trimming, you should act the same way. You are teaching your pet the fact that you can hold their paw, lift it, hold it with both your hands, and bend down to the paw.
Now we are going to familiarize your pet with grooming and medical accessories: cotton pads for ear cleaning, hair brushes, and nail files.
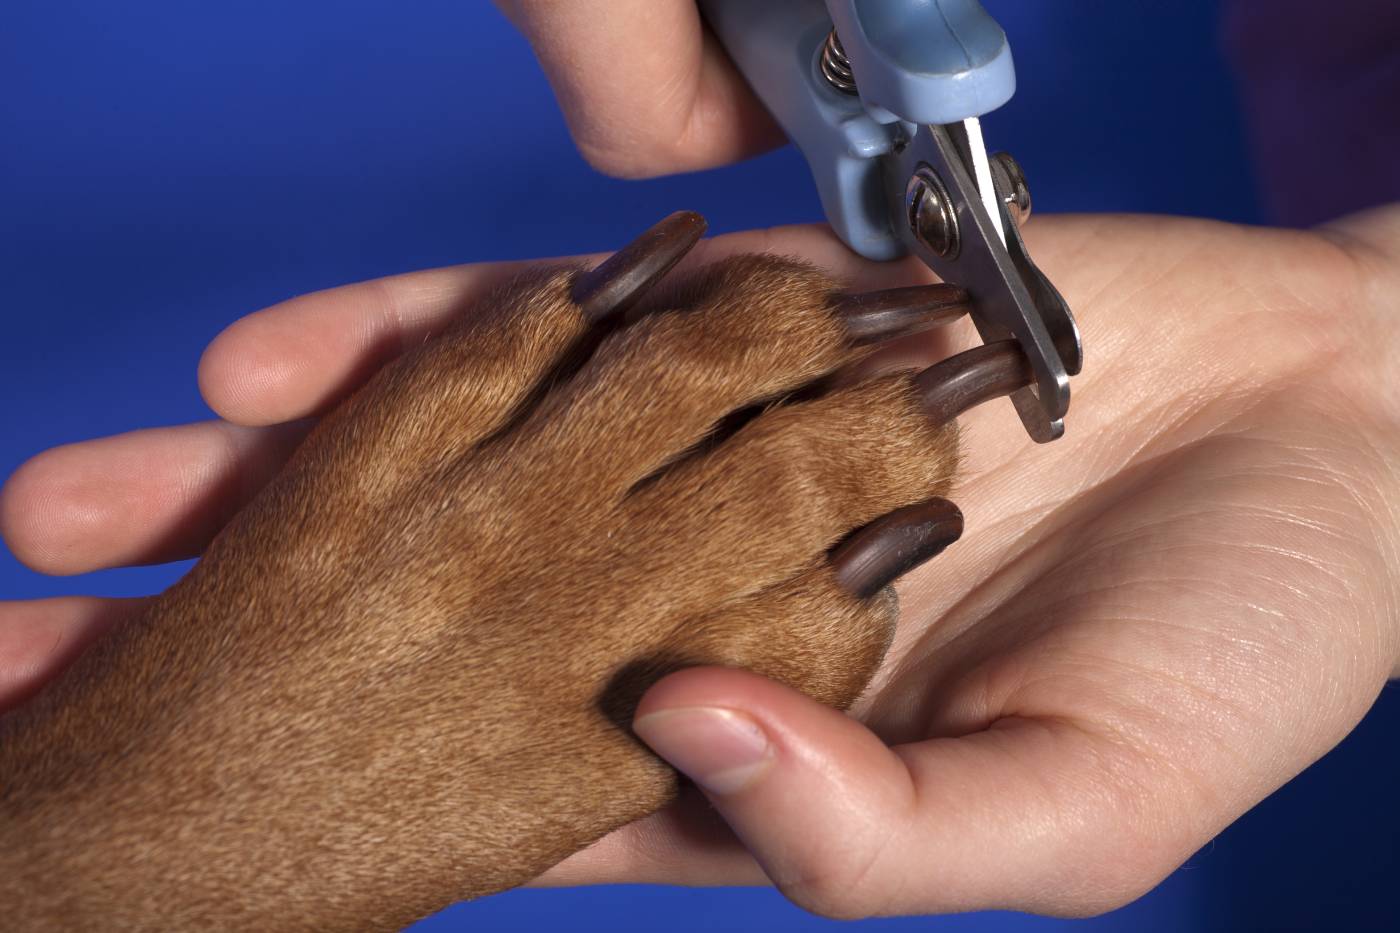
We recommend familiarizing your pet with nail filing first. For a dog, filing is a more complex stimulus than cutting, so by getting your dog used to filing, you will also get them used to nail cutting. On top of that, you can familiarize your dog with filing every day, while cutting is a much more rare event.
When you do cut your dog’s nails, be very careful when deciding where to cut, as dog nails are supplied with blood and therefore have a blood vessel inside of them. Cutting in the wrong place may be very painful. Before cutting your dog’s nails, examine the pictures on the internet or ask a veterinarian to show you the correct cutting range.

When you familiarize your dog with any grooming objects, for example, with a nail file, let your dog have a look at this object and sniff it. Then touch your dog with your hands, like you usually do, but this time hold the object near. Then touch your dog with a hand with the object in it. For example, your four-legged friend is calm when you hold their ear with your fingers. Now you can stroke their head (but not their ear!) with your hand with a cotton pad in it, only occasionally touching their ear. In this way, your dog gets accustomed to the presence of the grooming object.
You should touch your dog with your hand with a brush in it (but not with the brush itself!) many times before you finally touch them with the brush. In this stage, don’t start grooming or combing your dog – only touch them with the brush.
Likewise, you should touch your dog’s paws (but not their nails) with a nail file. From time to time, touch your dog’s nails with your hand while holding a nail file (but not with the nail file).
This way, using the “slow and steady wins the race” style, you will come to the point where your pet accepts all manipulations without getting stressed. This is the final goal of the desensitization technique.
Some may say that training using this technique moves too slowly and takes too long to get your dog used to all manipulations. Another disadvantage of this method is that the dog is trained when they are calm. So, if something causes their distrust, they may abruptly relapse in their conditioning, although not to the original level of distrust.
Counter-conditioning
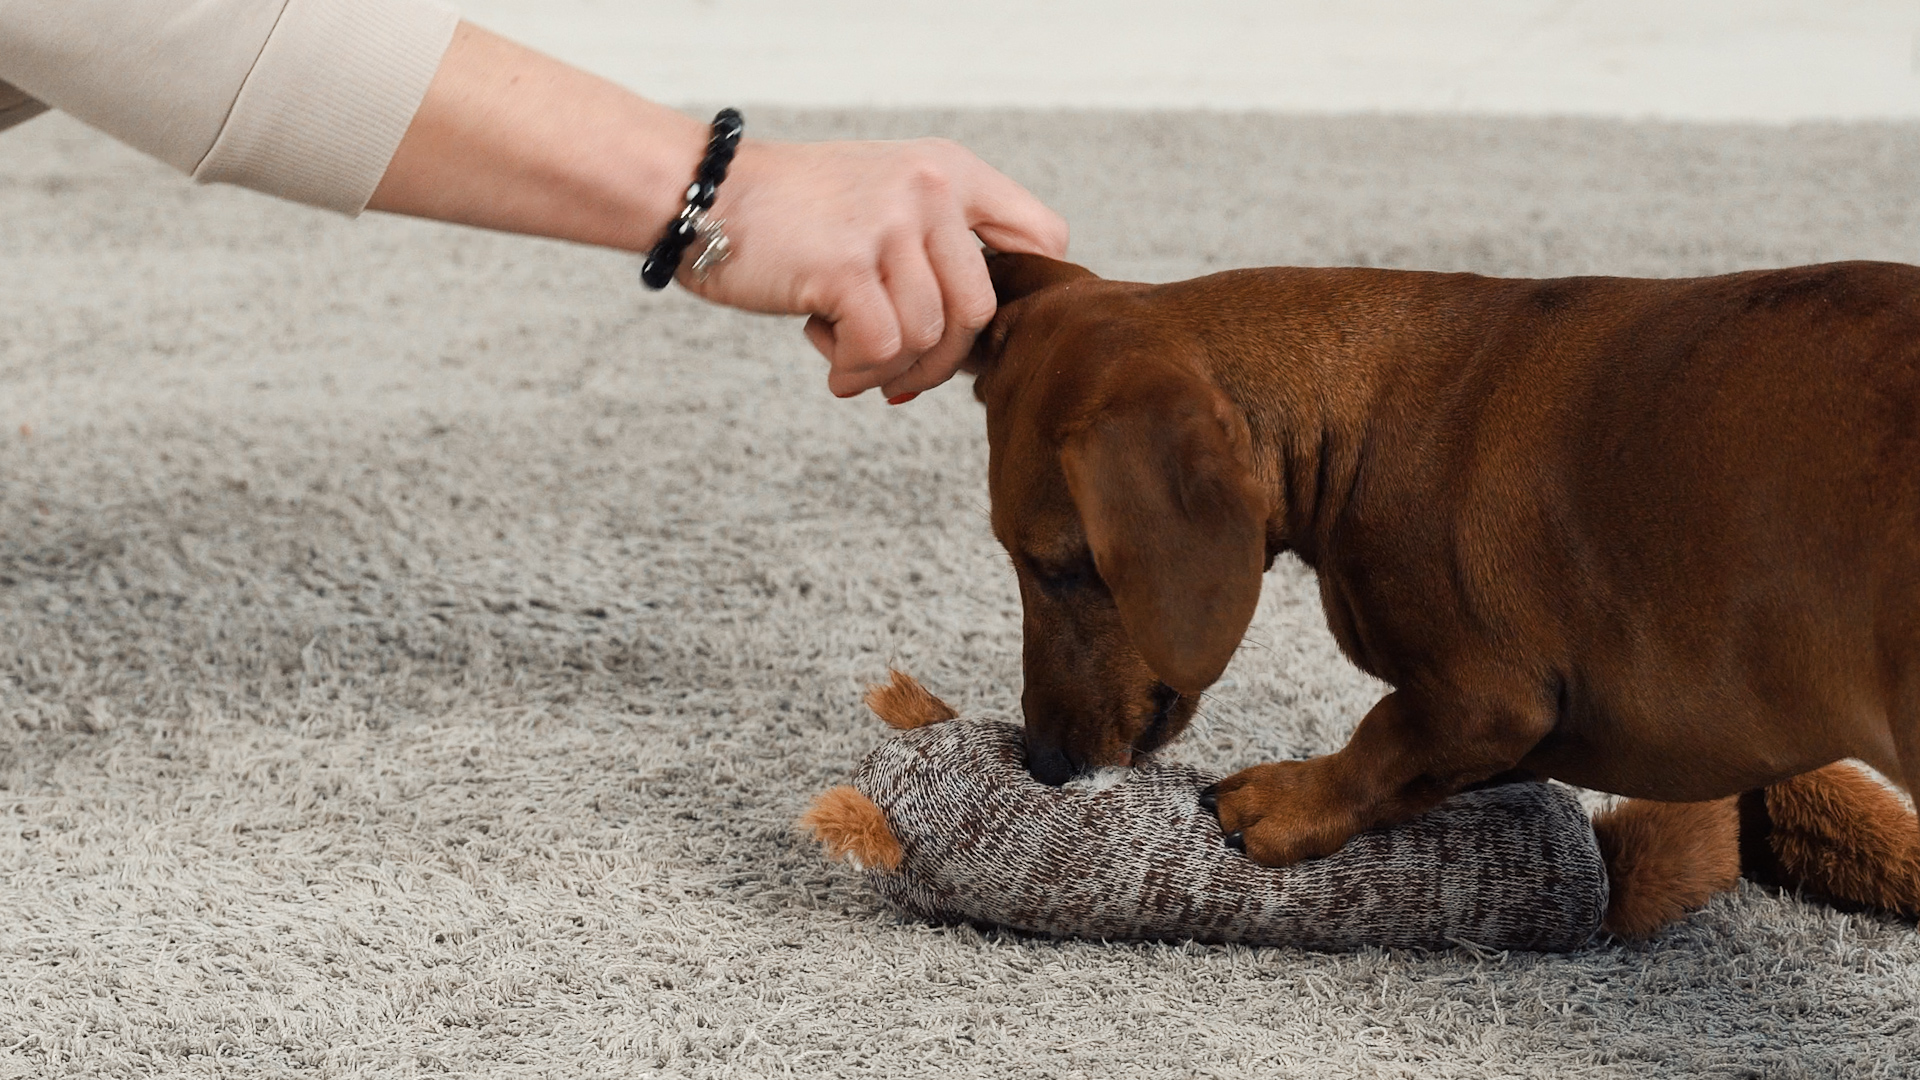
The second technique, counter-conditioning, means changing a dog’s emotional response, feelings, or attitude toward a stimulus. It is easiest to explain how counter-conditioning works by using the example of the dog’s attitude toward a stick.
Maybe, because of a negative past experience, a dog previously associated a stick in a human’s hands with pain or fear. Now, when you approach this dog holding a stick in your hand, it means the beginning of the game. The dog’s associations with the stick have obviously changed. How did it happen? Maybe you started counter-conditioning by offering your dog the chance to play with a thin twig instead of a big stick (in other words, you chose a weaker stimulus), or you taught your pet to play with a ball, and you then began to alternate between balls and thin twigs. Gradually, you’ve used heavier and heavier sticks for games, and your dog has continued to acquire positive associations and forgotten about their negative experience.
The same pattern goes for unpleasant procedures. By applying counter-conditioning, you follow the same pattern as in the previous technique. The only difference is that every time you touch the areas of your dog’s body that cause tension, you praise your pet and give them treats.
Let’s say you stroke your dog’s head nine times, on the tenth time you touch your dog’s ear and say: “Well done,” give your pet a treat, and then again touch their head nine times. For a weak stimulus, your dog gets nothing (neither bad nor good), but for a slightly stronger one, they get a reward no matter whether they get stressed or not.
Some may ask: “What if my dog growls or tries to bite me?” If this happens, that means that you’ve incorrectly identified the size of the stimulus that your dog accepts calmly. Take a break and in the next training session choose the size of a stimulus at which your dog will only get slightly tense, but will not yet feel the need to defend themselves. Put a muzzle on your dog.
If your dog does growl or try to bite, you should try to avoid showing any reactions in the moment: don’t pull your hand away or scream. When your pet starts calming down, gently and slowly move away, sit next to them while not looking at them, and pause the training session. Wait for about five minutes. When you see that your dog has completely calmed down, call them to you in your usual cheerful voice and take their muzzle off.
If everything goes well and you’ve chosen the right level of stimulus for your dog to learn, after receiving a few treats they will start wondering what they are being rewarded for and how they can get even more treats. This means a change in your dog’s motivation and the development of positive associations with your touch.
On the other hand, it is possible that your dog will start focusing on the fact that you are touching their ear. They may get more tense, recalling their experience when a touch was followed by forcible retention and painful treatment. In this case, you’ll have to take a few steps back, gradually return to the current level, and slowly move forward.
However, the combination of counter-conditioning and desensitization usually allows you to achieve the result faster than desensitization alone, and regression is very unlikely using these techniques together.
Some dogs are so used to defending themselves that they may not show any warning signs like body tension, grinning, or growling. They simply “burst out” immediately. This is quite a serious case, and you should find a canine behavior specialist right away and work with your dog only under their supervision.
Operant conditioning with positive reinforcement
Operant conditioning with positive reinforcement is said to bring great results, especially if it’s applied by an experienced canine specialist. Using this method, the dog themself learns to touch human’s hands and different objects.
In this case, the dog overcomes their fear and makes a decision on their own. There are two significant benefits to this process: because the dog independently makes their decisions, they won’t forget it; and because this training process cannot be rushed, there’s no risk of regression and re-triggering your dog’s aggression later.
For example, you might teach your pet to accept ear cleaning by doing the following: stretch out your left palm and lure your dog with your right hand to stretch their head under your left palm. As soon as your dog touches your outstretched arm with their head, praise them (or click if you have a clicker) and give them a treat. Repeat this until your dog begins to easily put their head under your outstretched palm.
Place your right palm to your left, then to your right, then up a little higher, then low, and so on. Your dog should get treats for every time they touch your palm with their head.
Then start gently stroking your pet with your right hand. If they don’t try to remove their head, praise them and give them some treats. If your dog tries to remove their head, lure them again, and when they touch your hand with their head, praise them and give them treats.
In the next stage, touch your dog’s ear. If your dog doesn’t try to move their head away, praise them and give a treat. If they try to remove their head, lure them back to put their head under your hand.
In the next stage, repeat the same pattern with a cotton pad in your hand.
At first, learning can be easy and fun. If your dog trusts you enough and is not afraid when you touch their ears, training will be smooth and no tension will arise. If there is a problem, at some point you’ll see that your pet hesitates. In this case, you should give your pet some time to think and make a decision. Keep praising and rewarding your pet with treats if they overcome their fear; you can always take a step back and lower your requirements a bit if necessary.
If you see that your pet is stuck at some stage, praise them and stop the training session. Get back to training tomorrow. When your pet overcomes their fear and puts their head under your hand, realizing that this hand will touch their ear is the most important moment in this technique.
Dogs don’t forget choices that they make consciously. That’s why it is such an important step in developing your dog’s trust in people.
If you teach your dog to accept brushing, you teach them to come close to your hand with a brush in it as if your dog is brushing their hair themselves. If you repeat this several times, your dog will soon allow you to brush them.
When you teach your dog to accept nail rimming, you should teach them to give you their paw and put it on your hand with a nail clipper in it. If your dog moves away when you hold their paw, let them do so, but don’t give them treats. Reward your dog only if they overcome their fear and put their paw on your hand again. Again, you can take a step back and this time not hold your dog’s paw. As soon as your dog overcomes their fear, you can move on to the stage where your dog previously hesitated.
Five main rules for grooming procedures
In addition to the three described above techniques, you need to always adhere to several important rules.
-
Do not let your dog go when they actively try to escape
It’s important to familiarize your dog with grooming and medical procedures gently and don’t bring them to the point where they start to resist. However, if your dog is sick, you don’t have time to familiarize them with medical procedures. You’ll have to treat them forcibly. The most likely scenario is that you’ll have to put a muzzle on your dog or hold them forcibly alone or together with someone, and your frightened dog will do their best to get rid of you.
In this case, try to act as indifferent as possible because any stimulus can become associated with negative interactions. Don’t yell at your dog, don’t try to calm them down, and don’t praise them. Keep quiet and just hold your dog tightly for as long as necessary. When the procedure is over, don’t let them go immediately. Wait until they calm down at least for a second and only then let them go. If you let your dog go when they try to resist, they’ll think that they managed to escape, and next time they’ll try to break free even harder because they were “successful” once.
By letting your dog go when they calm down, you teach them a different lesson. First, your dog will understand that there’s no use in trying to break free as it brings no results. Second, your dog will realize that you are not threatening their life and that you let them go when you finish what you do. Besides, if at the same time you manage to relieve your dog’s condition (for example, you forcibly injected them with painkillers or forcibly cut off a big tangle), they will understand and remember that people help them.
In any case, your dog will be overwhelmed by this experience. So, as soon as you are done with all the manipulations, leave your pet alone and let them calm down and relax in comfort.
-
Act calmly but confidently
Imagine that you went to the dentist and you saw that their hands were trembling. Would this dentist feel safe and trustworthy to you? It’s very unlikely. The same goes for dogs. Many dog parents are afraid to execute the unpleasant procedures on their own. Some are afraid of their pet’s reaction; some are afraid to do something wrong. Of course, sometimes it’s better to go to a specialist, but if that isn’t an option, you should act confidently and decisively.

Even if you don’t really feel confident, try to act as if you are. It’s okay to cover your dog’s face with a towel if it will help you or your dog feel more calm.
Don’t try to appease your dog or apologize in advance. All they hear from your words will be your fear and they won’t feel calmer.
-
Be proactive: a problem is easier to prevent than to correct
Many puppies and adopted dogs are open and trusting as they don’t have any negative associations with ear cleaning, hair brushing, or injections. They may allow you to do all of these procedures at once, without previously being trained to accept all these procedures, because they do not expect anything bad from you. If a procedure turns out to be painful, frightening, or tiresome, they may get extremely surprised and start trying to break free. In this way, you yourself might create a negative experience for your pet.
Many dog owners complain: “The first time, my dog was calm, but now my dog gets angrier and angrier every time we do the procedure.” Remember to be proactive: familiarize your pet with unpleasant procedures in advance. Get them used to different grooming objects during training sessions and don’t forget about positive reinforcement.
As a rule, puppies get used to all these procedures quickly and smoothly. So, when the time for a real procedure comes, they know that it won’t last forever and they’ll be rewarded at the end.
Even if a procedure is painful – for example, if you treat a paw cut – your puppy won’t be afraid because everything (your posture, the sequence of actions with praise and tasty rewards) is familiar to them.
-
Remember that a dog differentiates “their people” from “strangers”
When you take an adult dog with past negative experiences and you prove to them that you deserve their trust, they come to a quite obvious conclusion: yes, there are some people that are dangerous, but there many good people who want to help.
Soon, you won’t have to put a muzzle on your dog, because they will calmly let you treat their ears and cut their tangles. You may think that your dog will also be calm with a groomer or a vet, but that may be totally wrong. It is very likely that your dog, if you familiarize them with grooming procedures yourself, will let you do them. However, they could be cautious, or even aggressive, if a stranger attempted to do the same.
When going to a groomer or a vet, always put a muzzle on your dog until you see that they feel calm and comfortable in their hands and aren’t scared of the stranger.
-
Familiarizing your dog with medical treatment and actual medical treatment are two different things
Sometimes a dog is not yet familiarized with medical or grooming procedures but you have to treat them or brush them now. Don’t try to combine the actual, forcible unpleasant procedures with a training event. When training, don’t rush the events.
Slowly and systematically, move from very weak stimuli to increasingly strong ones. During the actual procedures, follow these rules as well. Every time your dog calms down a little and stops trying to break free, praise them and, if possible, reward them with treats for the desired behavior.
Soon your dog will see that, in both situations, there’s a certain logic behind your actions. The predictability of your actions will help them transfer the associations from the familiarization exercises to the real procedures.